Prerequisite:
🔗Add the LeadSources script to your website
🔗Add hidden fields to your form
We collect leads along with their source details (channel, source, campaign, term, content, landing page, and subfolder) through our form.
Our goal is to send this data to Breakcold, helping you track lead conversions and identify the most effective marketing channels.
This lets you focus your budget on what works and cut what doesn’t.
We use Zapier to send leads and their source data to Breakcold in two steps:
- Create attributes in Breakcold to store lead source data.
- Use Zapier to send new leads and their source data from your form to Breakcold.
Step 1: Create attributes in Breakcold #
What is an attribute in Breakcold?
To store lead source data for each lead in Breakcold, we need to create attributes. In Breakcold, you already use attributes to capture additional details about your leads (address, name, company, etc.).
By creating new attributes, you enable Breakcold to store the lead source data for each lead: channel, source, campaign, term, content, landing page, and landing page subfolder.
Log in your Breakcold account.
On the left panel, click Settings.
From the Settings page, click on People –> Create attribute
The Create attribute pop-up opens.
Let’s start by adding the Channel attribute:
- Attribute Type=Text
- Name=Channel
- Click Create attribute
You have just created the Channel attribute. Let’s create the remaining attributes by using the same process:
| Name | Attribute Type |
| Source1 (the attribute name “Source” is already used by Breakcold) | Text |
| Campaign | Text |
| Term | Text |
| Content | Text |
| Landing page | Text |
| Landing page subfolder | Text |
You are done. If you scroll at the bottom of your attributes list, you can see the 7 new attributes we’ve just created.
You can view your new attributes by heading back to People –> Open a lead.
The new attributes appear at the bottom of the lead view.
They are currently empty.
In the next step, we will connect your online form builder with Breakcold to populate the new attributes in Breakcold with the lead source data captured in your online form by LeadSources.
Step 2: Send lead source data using Zapier #
Zapier is a workflow automation software that creates workflows between different tools. In our case, we will create the following workflow:
When a lead is captured in our form ➡️ Create Lead in Breakcold
Note: This workflow sends your new leads to Breakcold. If you’re already sending leads automatically, ensure this method doesn’t create duplicates. Adjust the guide as needed to fit your process.
Sign up to Zapier.com (it’s free).
Create a new Zap.
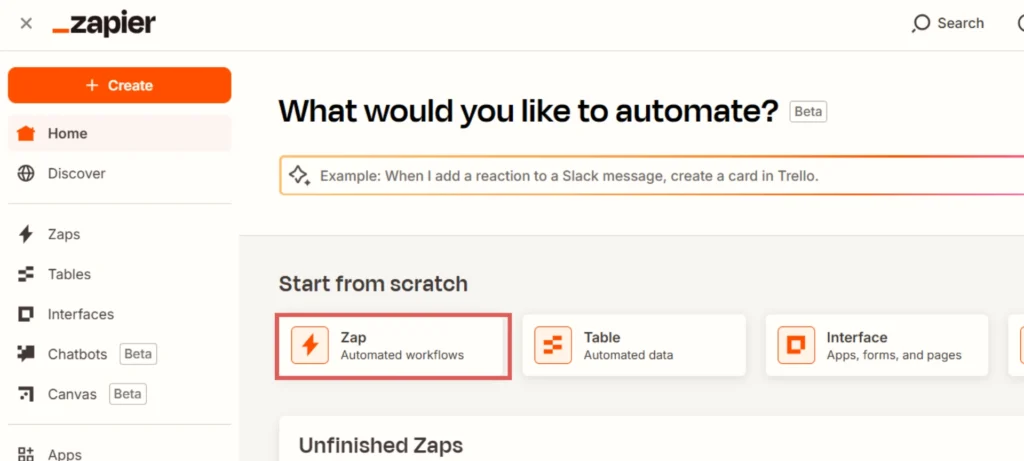
The Zap editor opens.
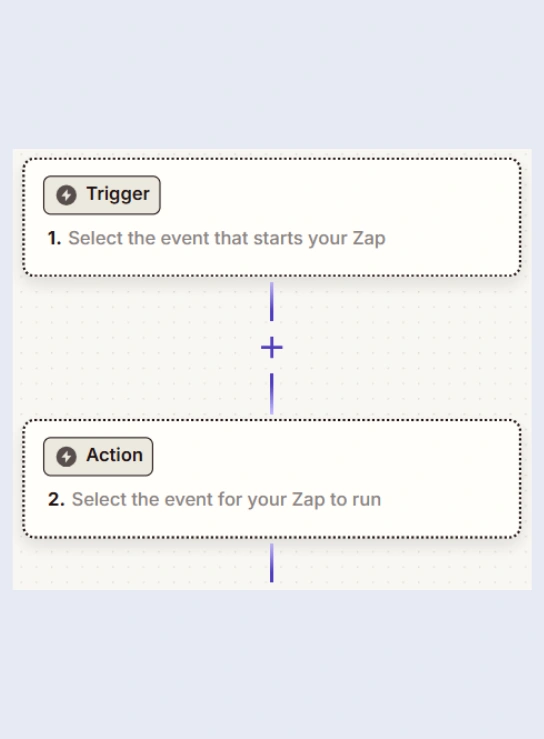
Click in the Trigger box.
Our trigger will be: a new lead is created in our form builder.
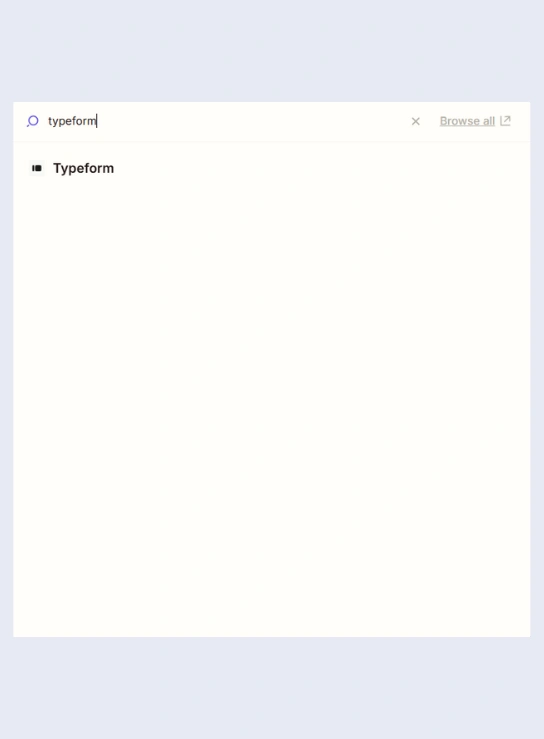
In our case, we use Typeform to collect leads. But you can connect another form builder.
Search for your online form builder in the search bar. Select it.
Set the Trigger event as “New entry” – wording can vary.
Under Account, link your form builder account with Zapier.
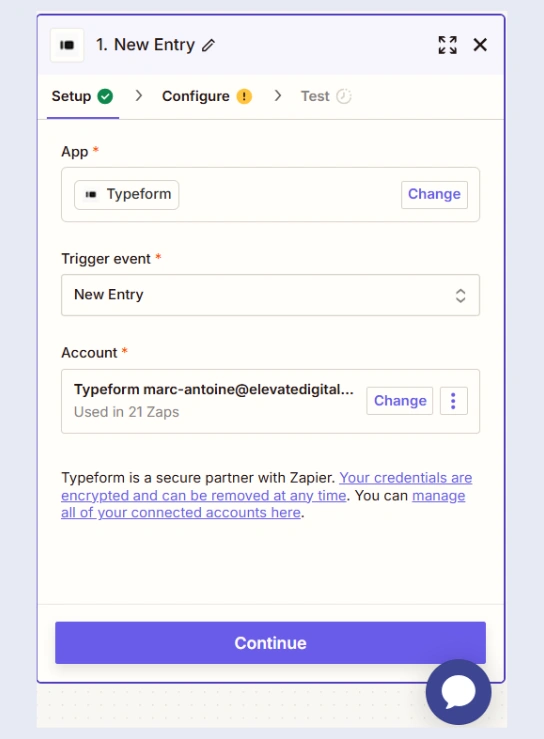
Click Continue.
Under Form, select the form you want to connect.
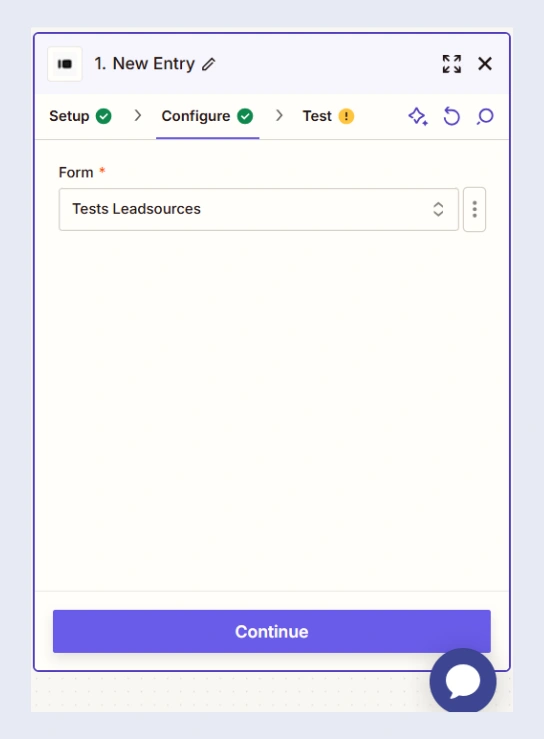
Click Continue –> Click Test Trigger –> Click Continue with selected record.
The pop-up for the Action box opens.
Here we are going to define the Action event you want to occur on Breakcold when a new lead is generated in our online form builder.
In our case, we want to Create or Update Lead on Breakcold. Let’s go through the steps:
Search for Breakcold. Select it.
Under Action event, select Create or Update Lead
Under Account, connect your Breakcold account with Zapier.
Once done, click Continue.
The Configure section opens.
Here, we want to map the fields between our online form builder (Typeform) and Breakcold. Feel free to map the data you want to send to Breakcold (email, name, city, etc.).
Scroll down the Configure section until you find the lead source fields: channel, source, campaign, term, content, landing page, landing page subfolder.
Let’s first map the Campaign field:
- Click the + icon
- Select the Campaign hidden field from your online form (perform a search if necessary)
Now, let’s map the rest of the attributes (from Breakcold) with their associated hidden fields (from your online form builder):
- Source1
- Channel
- Term
- Content
- Landing page
- Landing page subfolder
Click Continue. You enter in the Test step. Click Test step.
If the test is successful, a green check is added next to the Test title.
Click Publish.
You are all set!
Step 3: Test the automation #
To test the automation:
- Empty the cache of your browser
- Visit your website from the channel of your choice. You can use this link to emulate a Google Ads click:
🔗 https://yoursite.com/landing-page?gclid=123456789&wc_clear=true&UTM_source=Google+Ads&UTM_campaign=Your+Campaign+Name&UTM_term=Keyword+Clicked&UTM_content=Ad+Name
➡️ Replace the italic URL with your landing page URL
Fill out your form and submit it.
Head back to Breakcold –>in the People page.
If the automation was successful, you will see your new lead. Open it.
On the bottom left, you will find the attributes: channel, source, campaign, term, content, landing page, and landing page subfolder.
The attributes have been filled out with the lead source data captured by LeadSources (channel, source, campaign, term, content, landing page, and landing page subfolder).
You can now track the source of each lead in Breakcold directly.
So when a lead transforms into a customer, you can connect this customer back to the channel, source, campaign, etc. that generated it.
As a result, you can adjust your marketing strategy by focusing on the channels, sources, campaigns, etc. that generate sales.


