Prerequisite:
🔗Add the Leadsources script to your website
🔗Add hidden fields to your form
We collect leads along with their source details (channel, source, campaign, term, content, landing page, and landing page subfolder).
Our goal is to send leads (and their lead source data) to Bitrix24 CRM, enabling you to track which leads become customers. Then, you can loop each customer back to the exact channel, source, campaign, etc. that generated it.
This helps you optimize your marketing budget by focusing on what works and eliminating what doesn’t.
Zapier is the tool that will be used to transfer your leads and their source data to Bitrix24.
We will do it in two steps:
- Set up custom fields in Bitrix24 – to store lead source data.
- Use Zapier to send your leads – from your form to Bitrix24.
Step 1: Create custom fields in Bitrix24 #
What is a custom field?
To store the lead source data for each Contact in Bitrix24, we need to create custom fields.
In Bitrix24, you currently use fields to populate additional information about your leads (address, name, company, etc.).
With custom fields, we allow Bitrix24 to store the lead source data for each new contact: channel, source, campaign, term, content, landing page, and landing page subfolder.
Let’s get started!
Log in your Bitrix24 account.
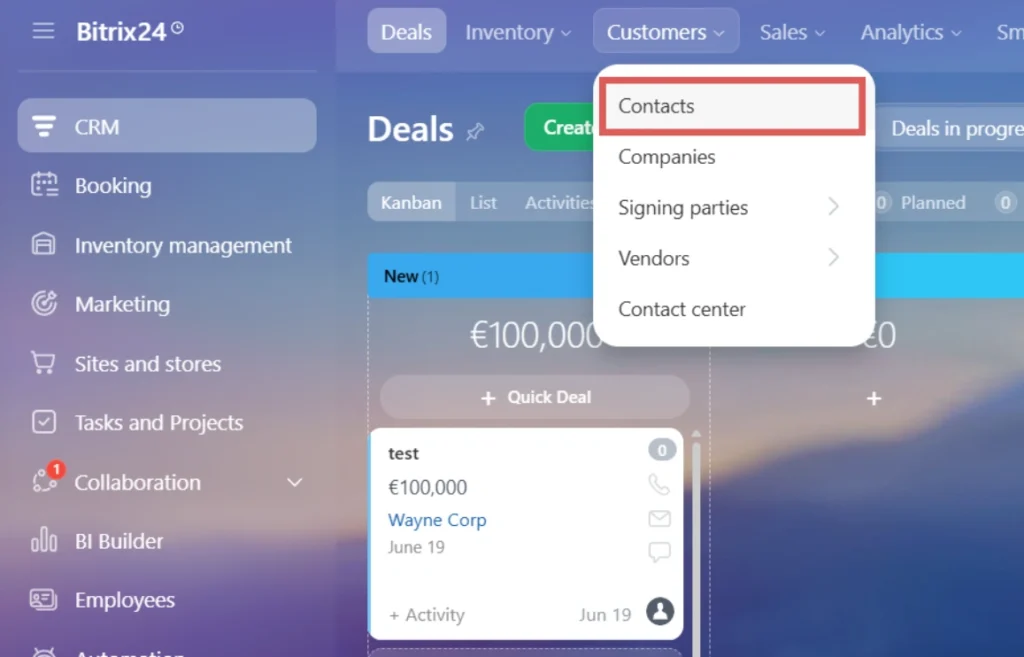
On the top panel, under Customers, select Contacts.
Open any contact, or create one if you don’t have any contact yet.
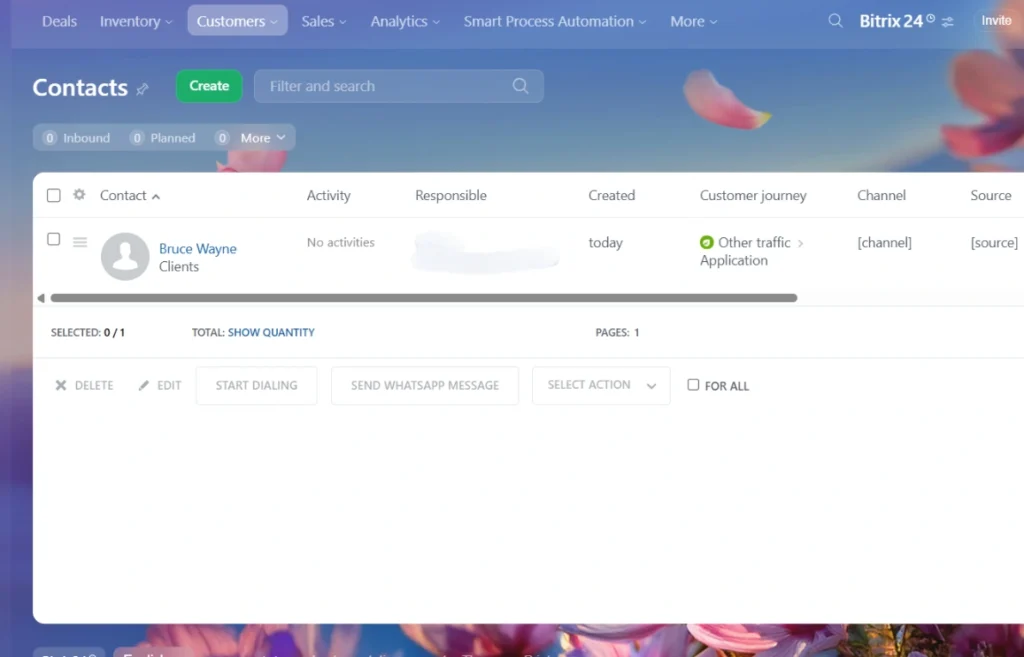
From this contact, we are going to create all the custom fields.
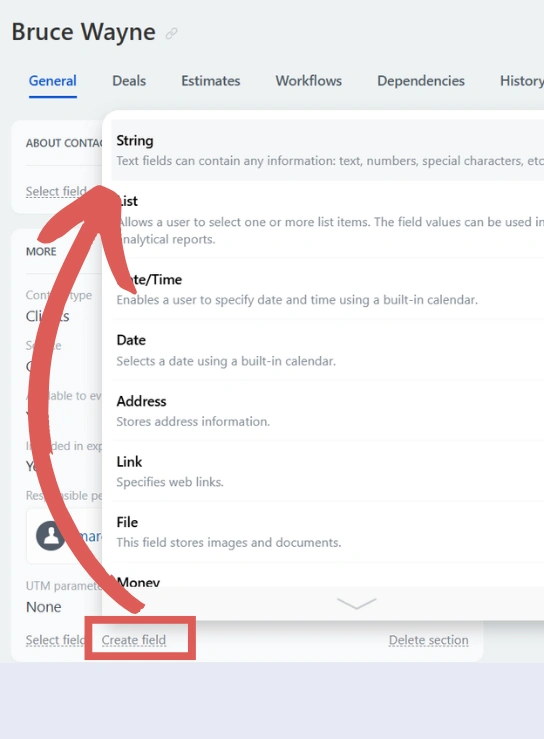
Click Create field > Select String > Name this field Channel > Toggle Show always > Click Save.
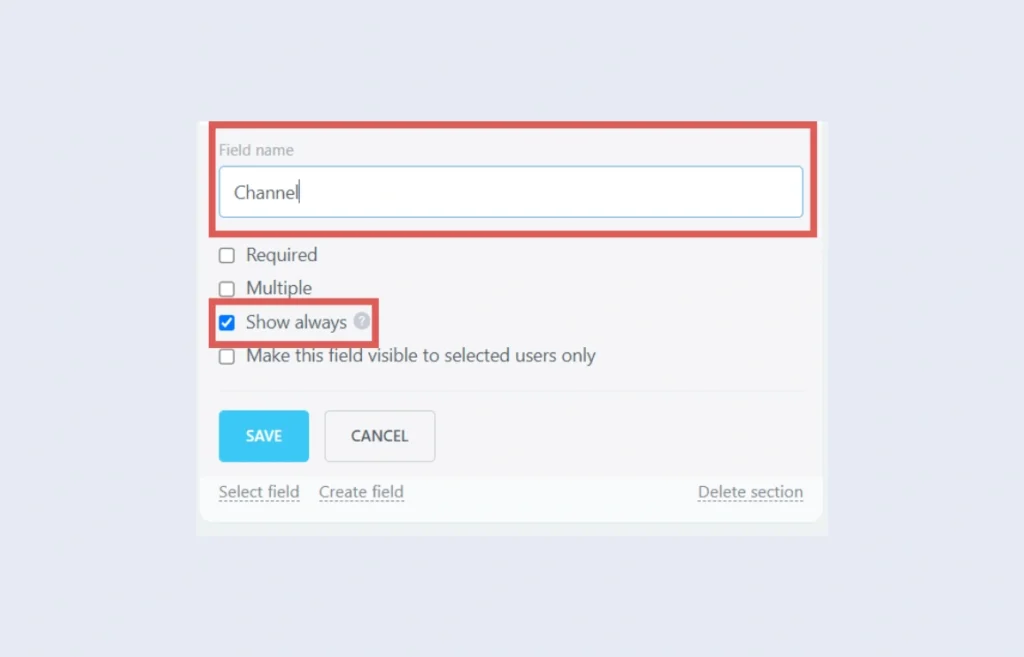
You have now create the Channel custom field for all your contacts. Let’s use the same process to create the rest of the fields:
| Field name | Toggle |
| Source | Show always |
| Campaign | Show always |
| Term | Show always |
| Content | Show always |
| Landing page | Show always |
| Landing page subfolder | Show always |
You have now created all the custom fields.
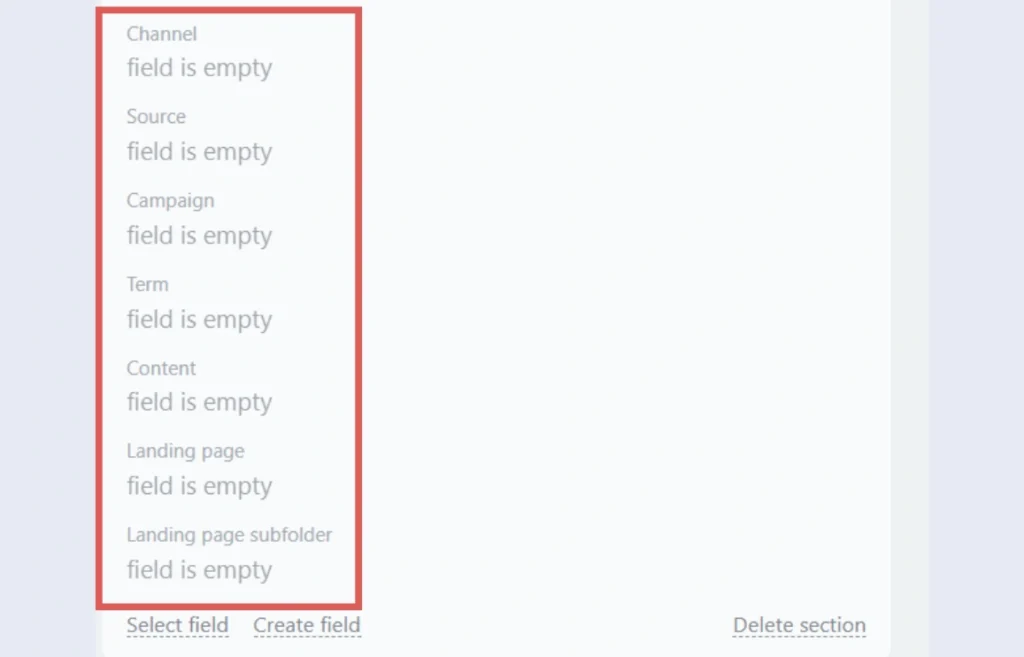
At this stage, since we didn’t populate any value into these new fields, you will notice that these fields are empty, that’s normal.
Now that we have the created custom fields, let’s connect your form with BItrix24 to send your leads to your CRM.
Note: You can access and manage all your custom fields from here: From the homepage, on the left panel, click Settings > Bitrix24 settings > Next to CRM, click Settings > Select the tab Form and report settings > Click Custom fields > Under Contact, click Fields > From there you can add/edit/delete any Contact fields.
Step 2: Send lead source data using Zapier #
Zapier is a workflow automation software that creates workflows between different tools. In our case, we will create the following workflow:
When a new lead is captured in our form ➡️ Create a new Contact in Bitrix24 CRM
Note: this workflow sends your new leads to Bitrix24 CRM (as contact). If you are already automatically sending leads to Bitrix24 with Zapier, make sure that you are not creating duplicate leads with the method described here. Adapt this guide to your specific needs.
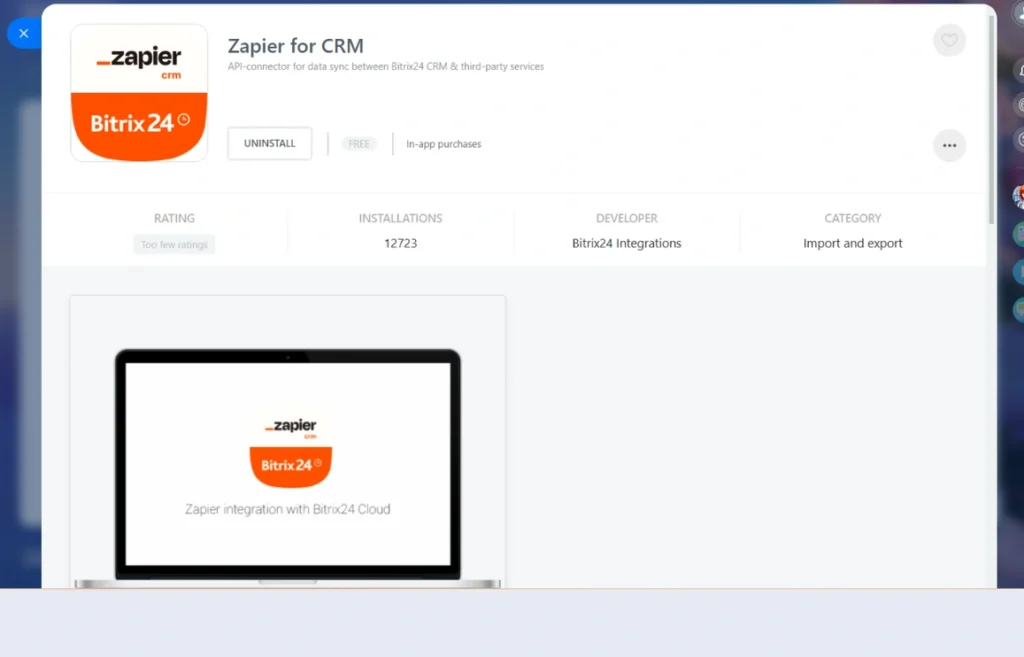
First, you need to install the Zapier for CRM app in your Bitrix24 account. Simply head to the Zapier for CRM page > Click Install.
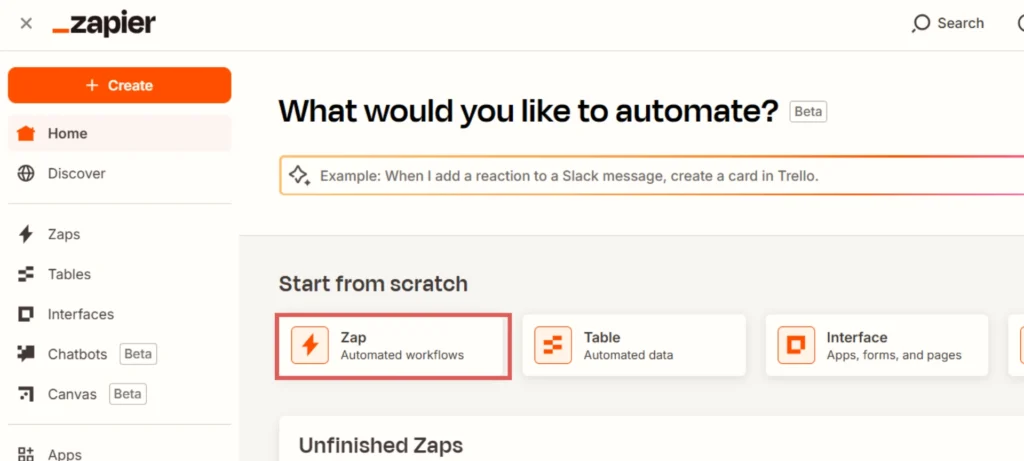
Sign up to Zapier.com (it’s free).
Create a new Zap.
The Zap editor opens.
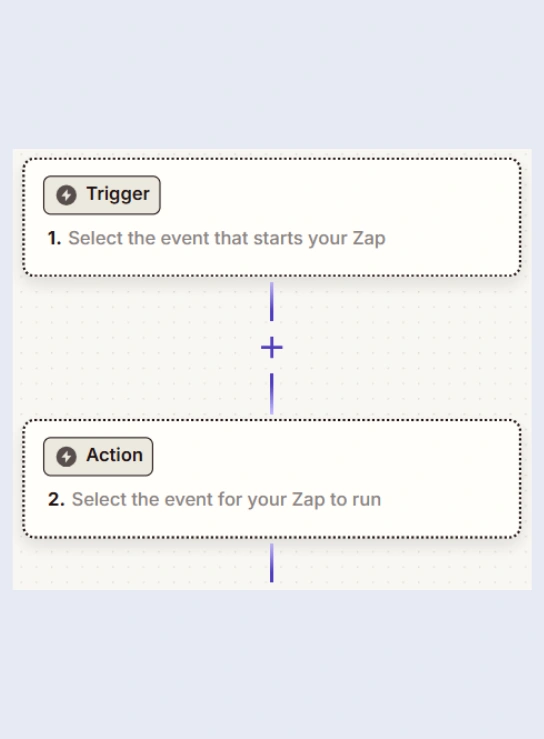
Click in the Trigger box.
Our trigger will be: a new lead is generated in our form builder.
In our case, we use Typeform to collect leads. But you can connect another form builder – Zapier covers most popular form builders.
Search for your form builder in the search bar. Select it.
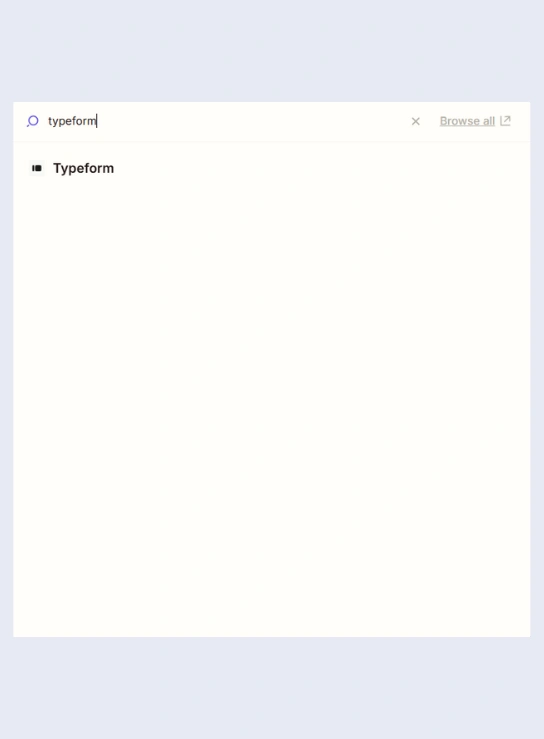
Set the Trigger Event as “New entry” – wording can vary.
Under Account, link your form builder account with Zapier.
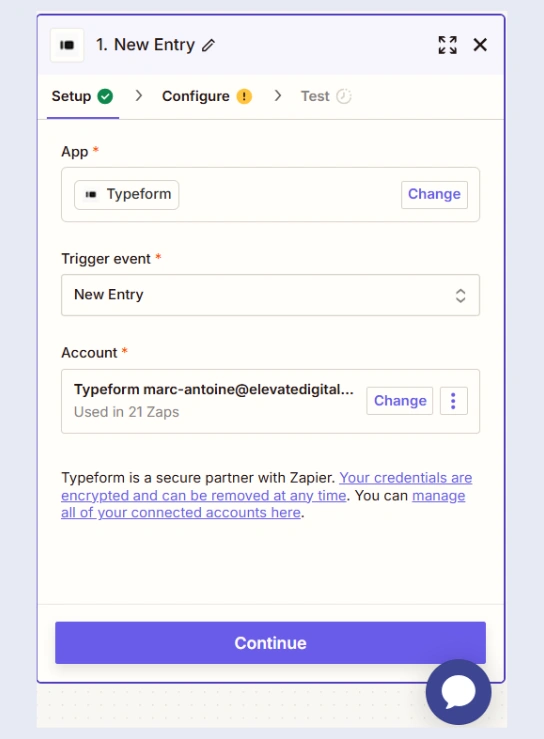
Click Continue.
Under Form, select the form you want to connect.
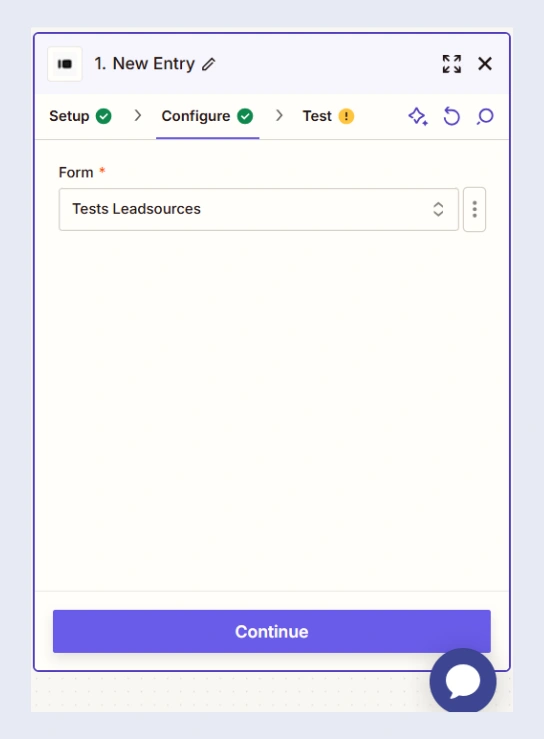
Click Continue –> Click Test Trigger –> Click Continue with selected record.
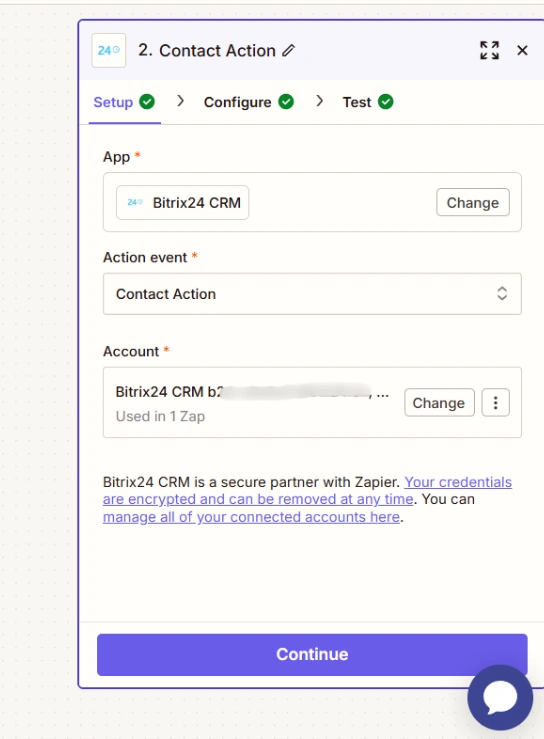
The pop-up for the Action box opens. Here we are going to define the Action event you want to occur on Bitrix24 CRM when a new lead is generated in our form builder. In our case, we want to create a new contact. Let’s go through the steps:
Under App, search for Bitrix24 CRM. Select it.
Under Action event, select Contact Action.
Under Account, connect your Bitrix24 CRM account with Zapier.
Click Continue.
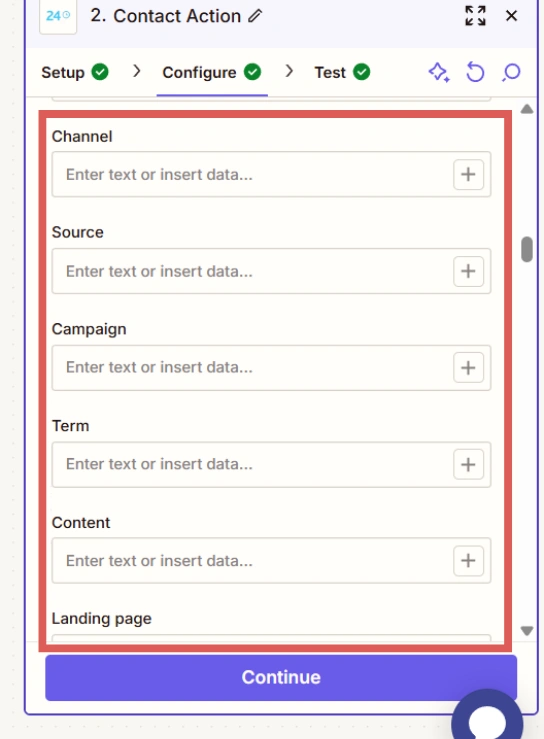
The Configure section opens. Here we want to map the data from our form builder with the Bitrix24 CRM fields. Feel free to map the data the way you prefer.
Simply scroll down to find the lead source fields: channel, source, campaign, term, content, landing page, landing page subfolder.
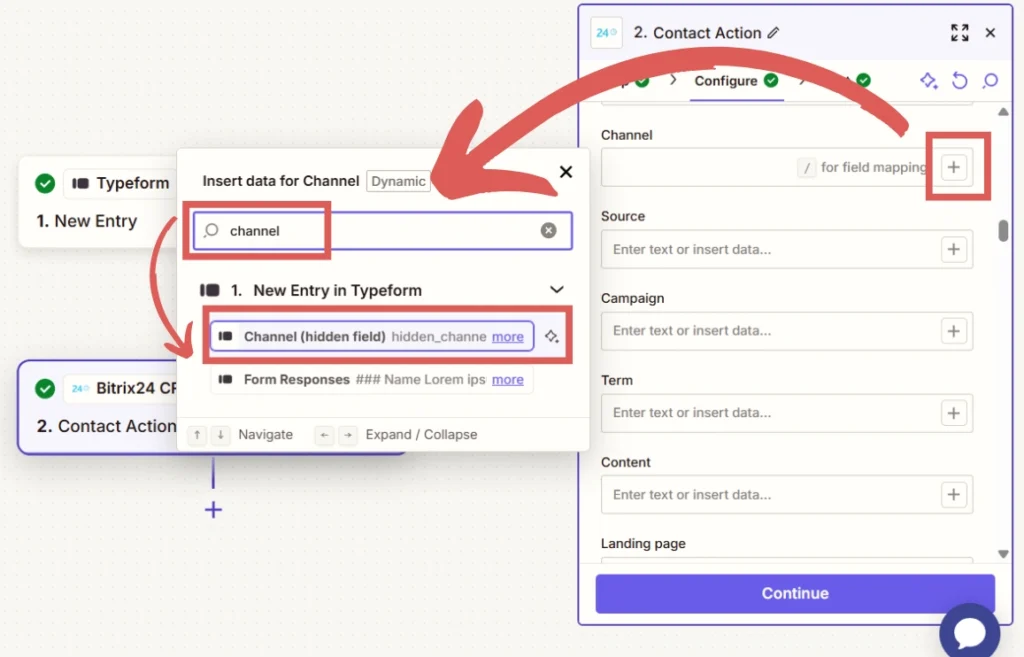
Let’s map the Channel field: click the + icon, and select the Channel hidden field from your form.
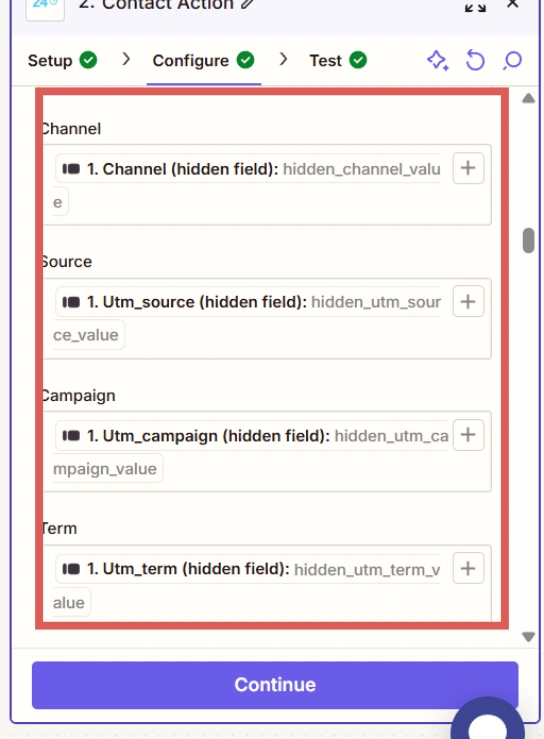
Map the rest of the custom fields using the same method:
- Source
- Campaign
- Term
- Contetn
- Landing page
- Landing page subfolder
Click Continue > Click Publish.
You are all set!
Step 3: Test the automation #
To test the automation:
- Empty the cache of your browser
- Visit your website from the channel of your choice (SEO, Google Ads, Organic Social, Referral, Direct, etc.).
You can use this link to emulate a Google Ads click:
🔗 https://yoursite.com/landing-page?gclid=123456789&wc_clear=true&UTM_source=Google+Ads&UTM_campaign=Your+Campaign+Name&UTM_term=Keyword+Clicked&UTM_content=Ad+Name
➡️ Replace the italic URL with your landing page URL
Fill out your form and submit it.
Head back to Bitrix24 CRM > Under Customers, click Contacts. You should see your newly added lead appear, open it.

Scroll down to see the custom fields.
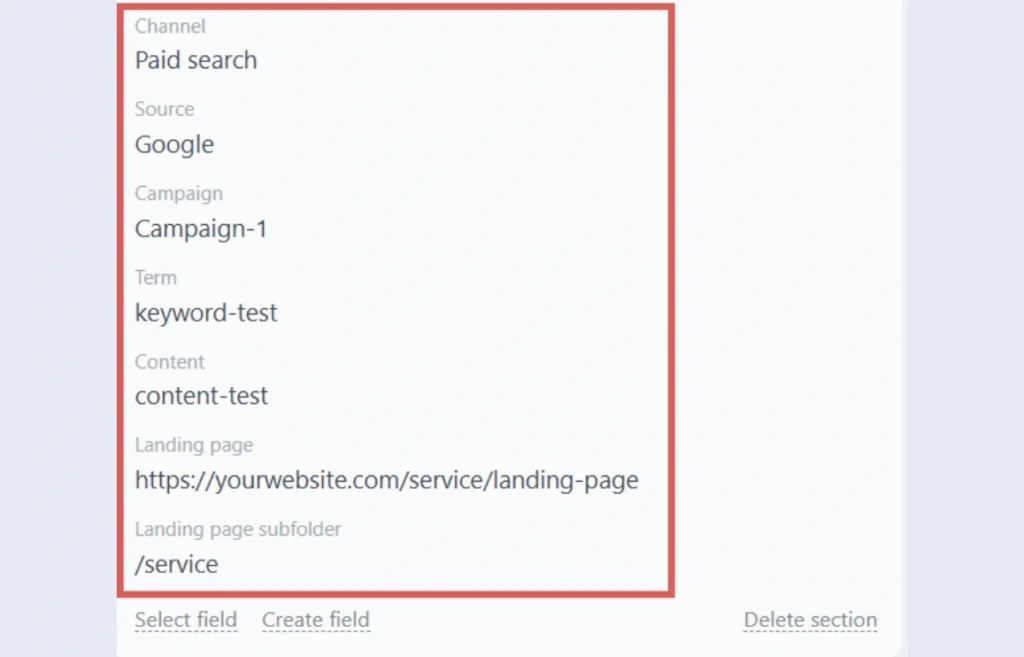
The custom fields should be populated with the lead source data captured in your form (channel, source, etc.).
If no value was captured (example, in the absence of UTM parameters for the Term and Content fields), then the associated custom field will not displayed by Bitrix24 CRM.


