To start using Leadsources on your site, the first step is to add your Leadsources code to the head tag of your site. You can do it using Google Tag Manager. Follow this guide for more details:
Step 1: Copy the Leadsources code #
If you haven’t done it already, copy the Leadsource code you need to install in the head tag of your site:
- Create an account on leadsources.io (free 14-day trial).
- Log in to leadsources.io from the login page
- Click the “Setup Tracking” tab on the top left
- Copy the Leadsources code that you will find under “Step 1: Install tracking code” (as shown below)

Step 2: Add the Leadsources code to your head tag using Google Tag Manager #
1. Add a new tag on Google Tag Manager #
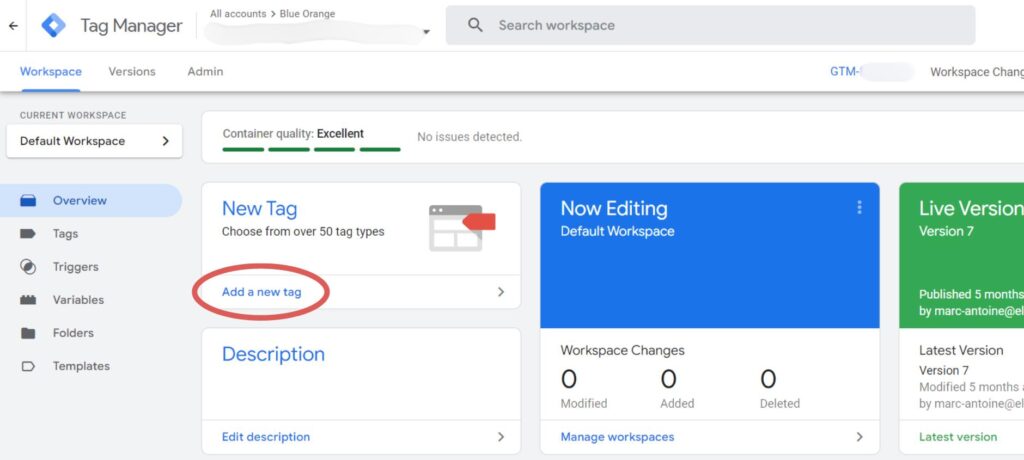
Log in to your Google Tag Manager account. From the “overview” tab, click on “Add a new tag”.
2. Give a name to your tag #
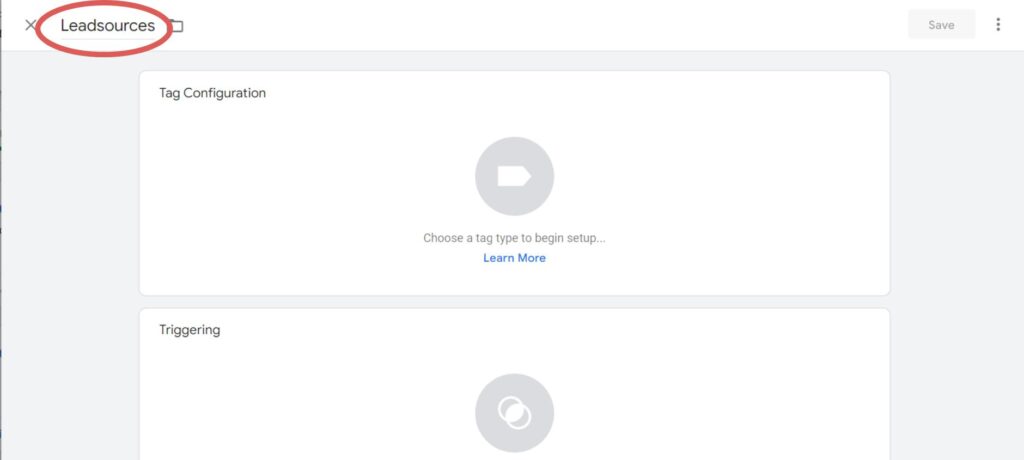
A pop-up appears, give any name to your tag. In the example below, we named it “Leadsources”.
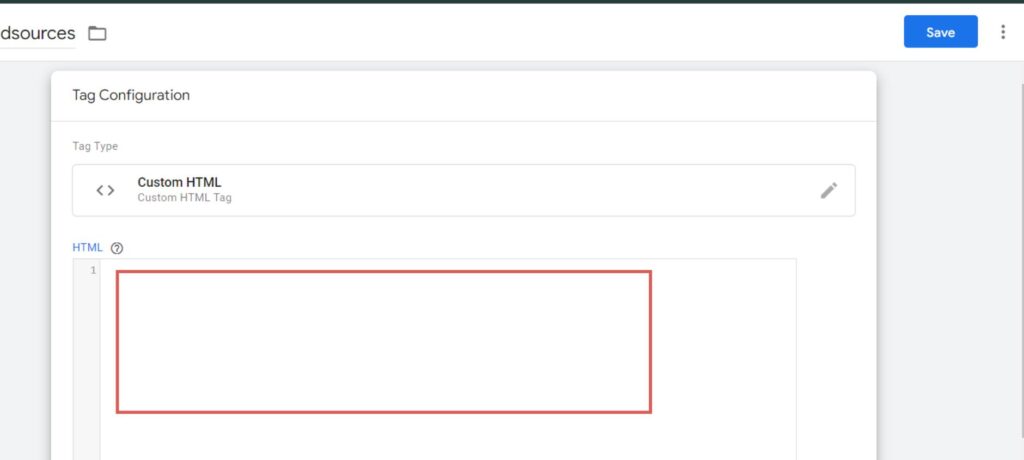
3. Add the Leadsources code #
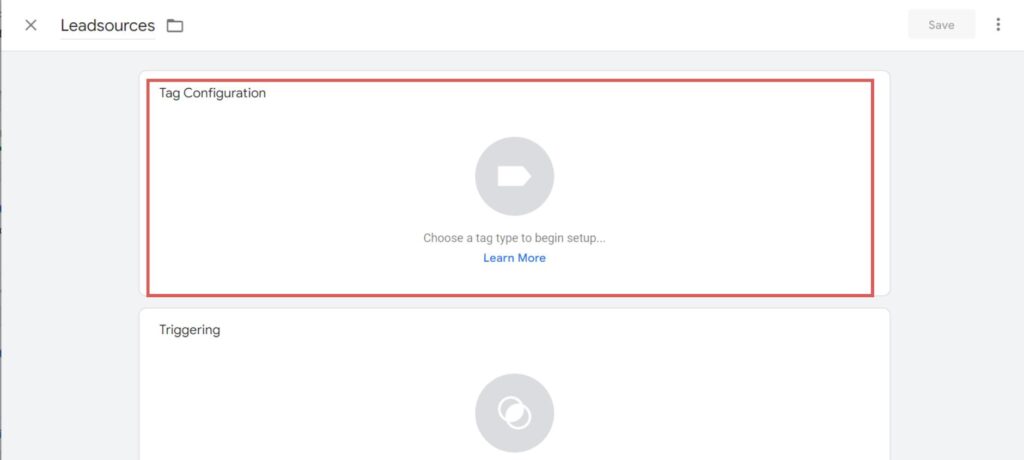
Click anywhere inside the “Tag configuration” block.
A slider appears on the right, search for “Custom HTML”, and click on it.
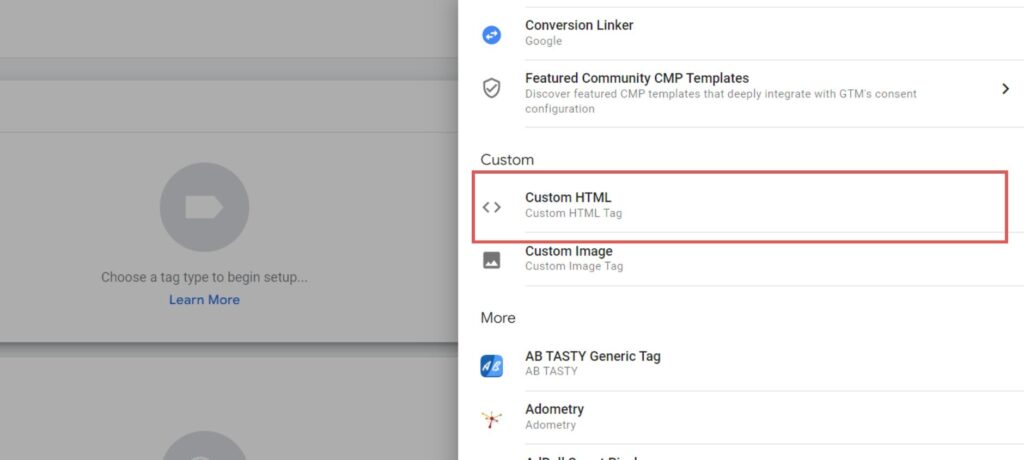
An HTML box opens. Paste the Leadsources code inside.
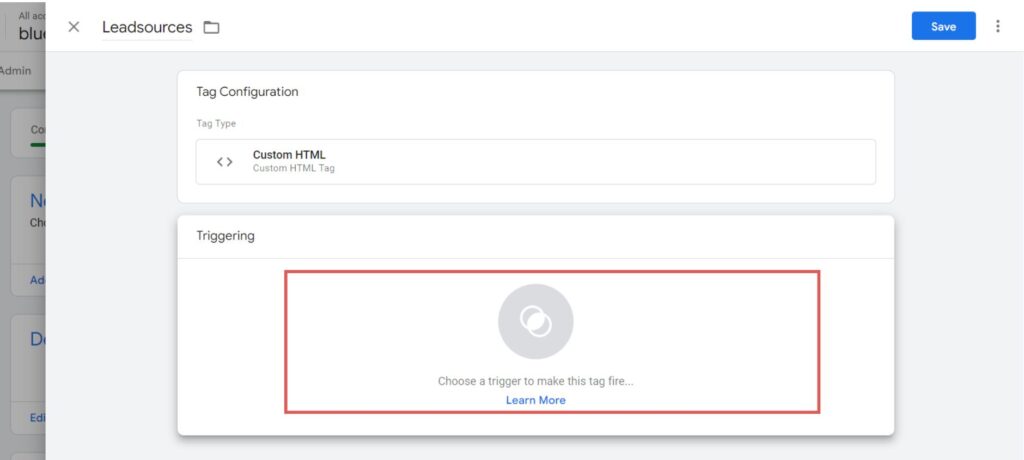
4. Select a trigger #
Now, you need to select the action that will trigger our Leadsources code to function on your website. Here we want our code to function on all the pages of your site.
Click anywhere inside the “Triggering” section.
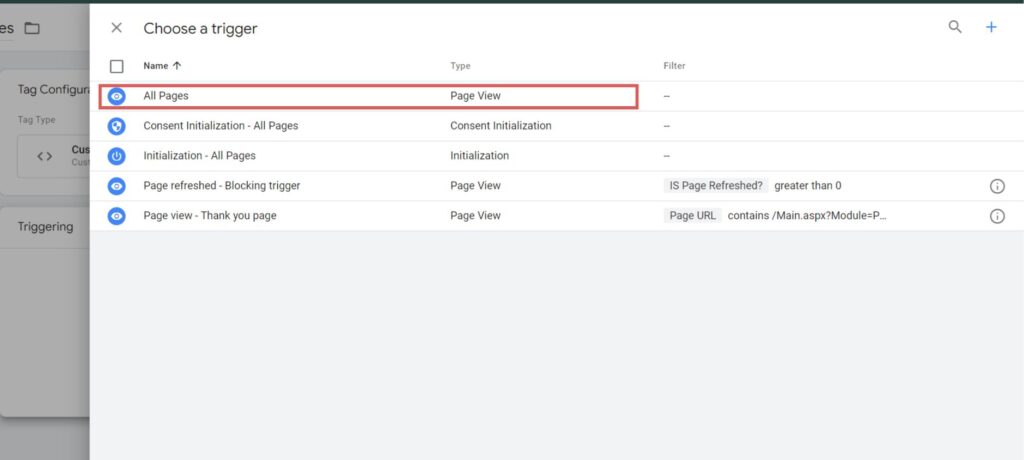
A slider appears from the right side. Select “All pages”.
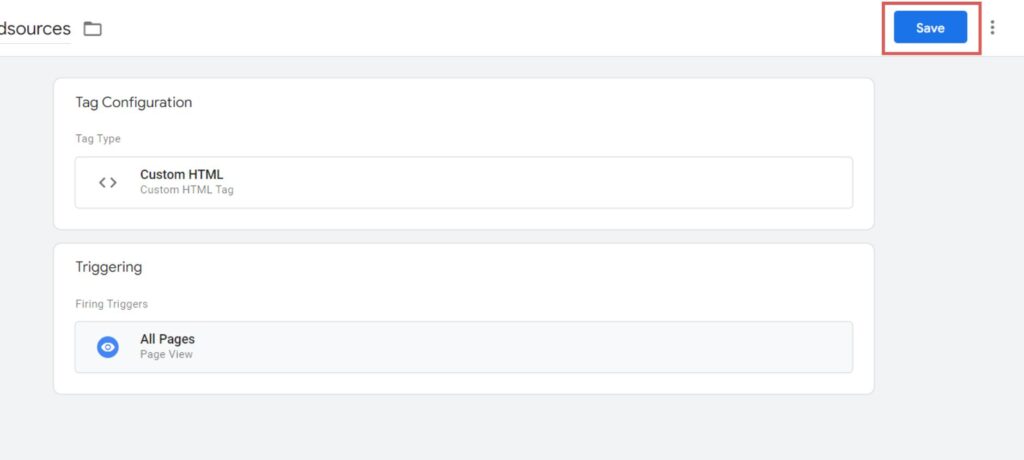
5. Save your tag #
You can now save your tag by clicking on the “Save” button on the top right corner.
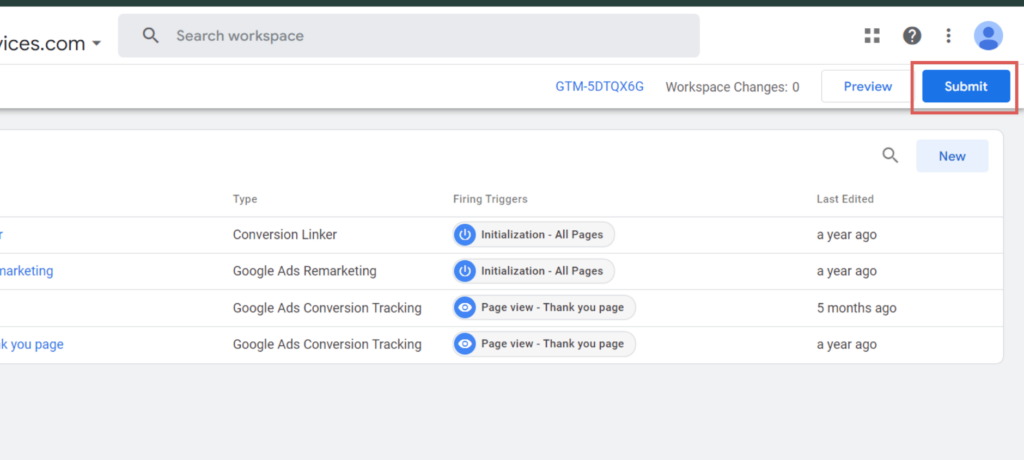
6. Submit your tag #
You are now back to the “tag” tab. To publish your tag, click on “Submit”.
Step 3: Test the code installation #
To verify that the Leadsources code has been properly implemented in your website, follow these simple steps:
Go to any page on your website.
Right-click, then click on “Inspect“.
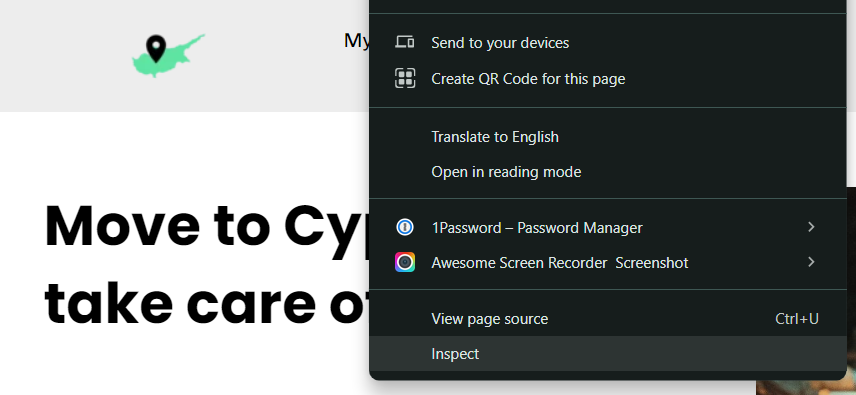
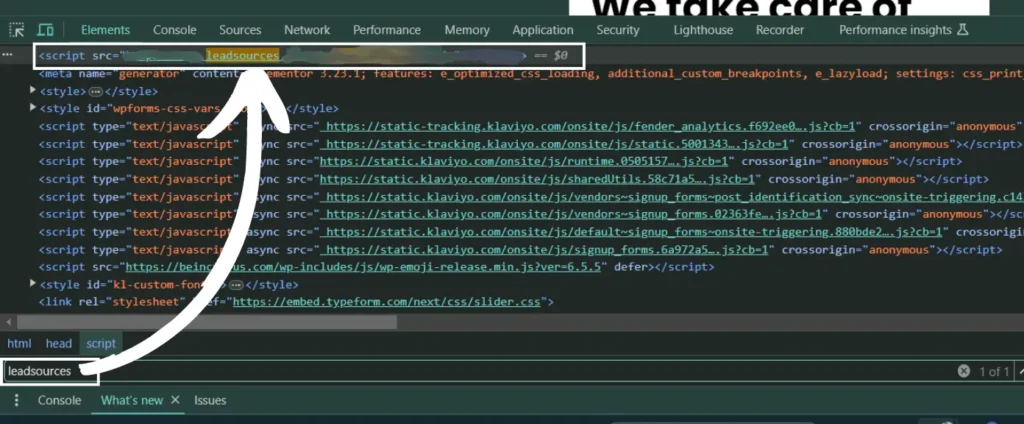
The source code window appears. From there, perform a search:
- On PC: Ctrl+F
- On Mac: Command-spacebar
Search for the term “leadsources”.
If the Leadsources code appears, it means that you have implemented the code properly.
If you don’t see the code appearing, contact our support team.
Next step: install the hidden fields #
You have now installed properly the Leadsources code in the head tag of your website.
Now, every time someone visits your site, Leadsources captures up to 7 lead source data points:
- Channel
- Source
- Campaign
- Term
- Content
- Landing Page
- Landing Page Subfolder
The second step is to create hidden fields in your form builder to pass this lead source data in your form.
The process of adding hidden fields to your form depends on the form builder used (Typeform, WP Forms, etc.).
We have created a detailed guide for each form builder. Visit our hidden fields page to find out how.


