Gravity Forms is a popular WordPress plugin that allows you to capture leads on your website.
With Leadsources, you can track the source of the leads generated in Gravity Forms, alongside 6 other lead source data.
In this guide, we will show you how to add hidden fields in Gravity Forms to start capturing the source of your leads.
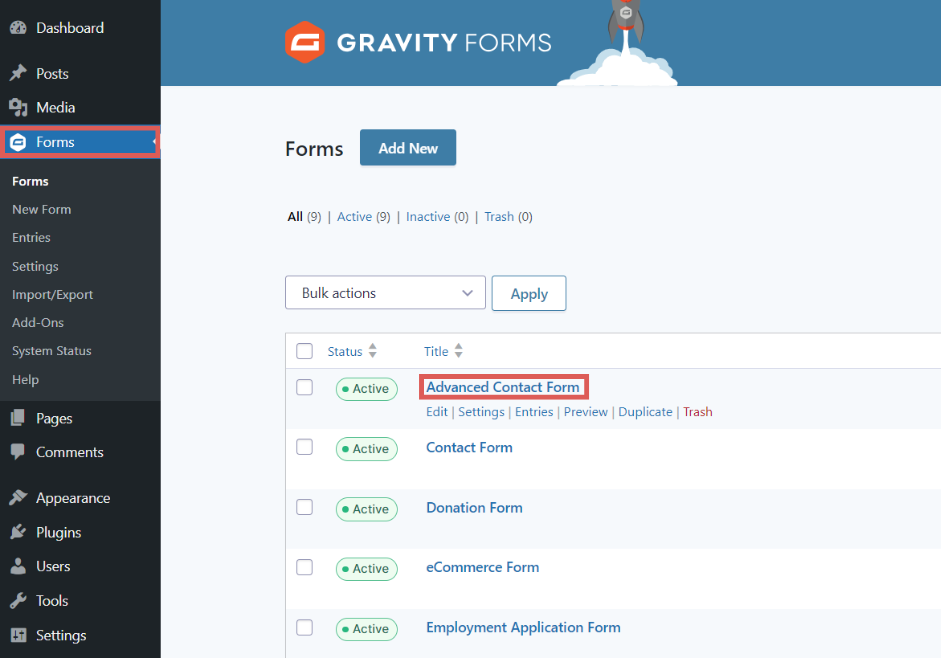
Step 1: Open the form #
Log in to your WordPress backend.
On the left panel, click Forms.
Click on the form you want to add the hidden fields to.
Step 2: Add the hidden fields #
On the right panel, drag & drop the field called Hidden in your form. It doesn’t matter where in your form you drop the hidden field. In this example, we add the hidden field at the bottom of our form.
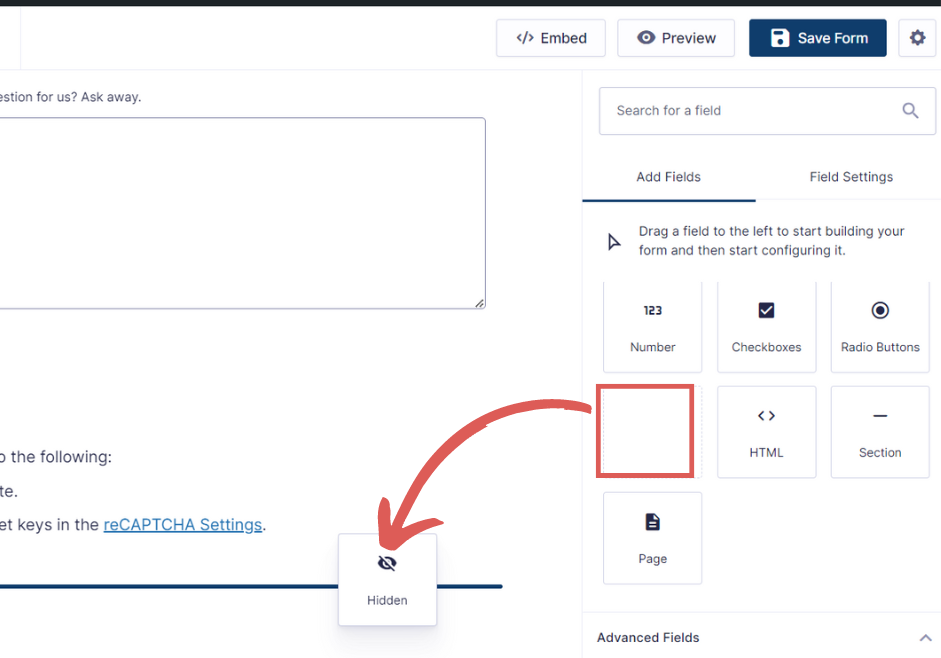
Repeat this step to add a total of 7 Hidden fields in your form.
These hidden fields will be used to capture the lead data in your Gravity form.
Step 3: Set up the hidden fields #
In this step, we will set up the hidden fields one by one.
To start, click on a hidden field you just dropped on your form.
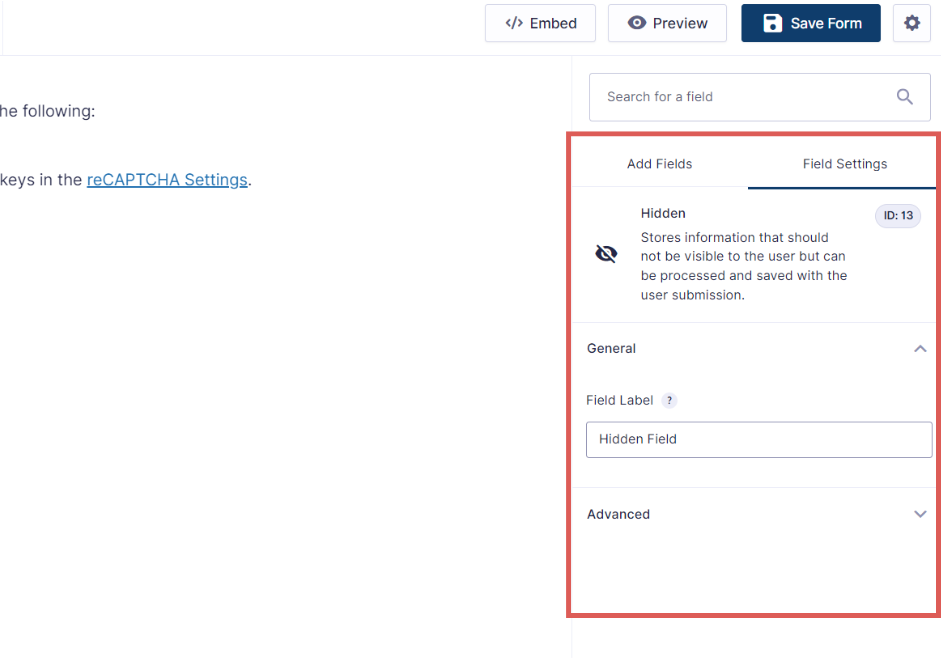
On the right, the Fields Settings panel opens.
Add the following information for all 7 fields
Hidden field #1 #
- In Field Label = Channel
- Default value = [channel]
Hidden field #2 #
- In Field Label = Source
- Default value = [source]
Hidden field #3 #
- In Field Label = Campaign
- Default value = [campaign]
Hidden field #4 #
- In Field Label = Term
- Default value = [term]
Hidden field #5 #
- In Field Label = Content
- Default value = [content]
Hidden field #6 #
- In Field Label = Landing page
- Default value = [landingpage]
Hidden field #7 #
- In Field Label = Landing page subfolder
- Default value = [landingpagesubfolder]
You are all set!
Leadsources will capture and store the leads data in these 7 hidden fields. This data will be visible from the Gravity Forms submissions page, alongside the form’s responses (name, email, etc.).


